6 April 2025
Ever wanted to witness a volcanic eruption up close without any danger? Well, now you can—right in your own home! Creating a mini volcano is an exciting and educational experiment that lets you experience a mini version of nature’s explosive power. But don’t worry, this version is completely safe and ridiculously fun.
Whether you’re a parent looking for a cool science experiment for your kids, a student eager to impress with a school project, or just someone who loves DIY science fun, this guide will walk you through everything you need to know.
So, grab your lab coat (or an old T-shirt) and let’s dive into the fiery world of homemade volcanoes! 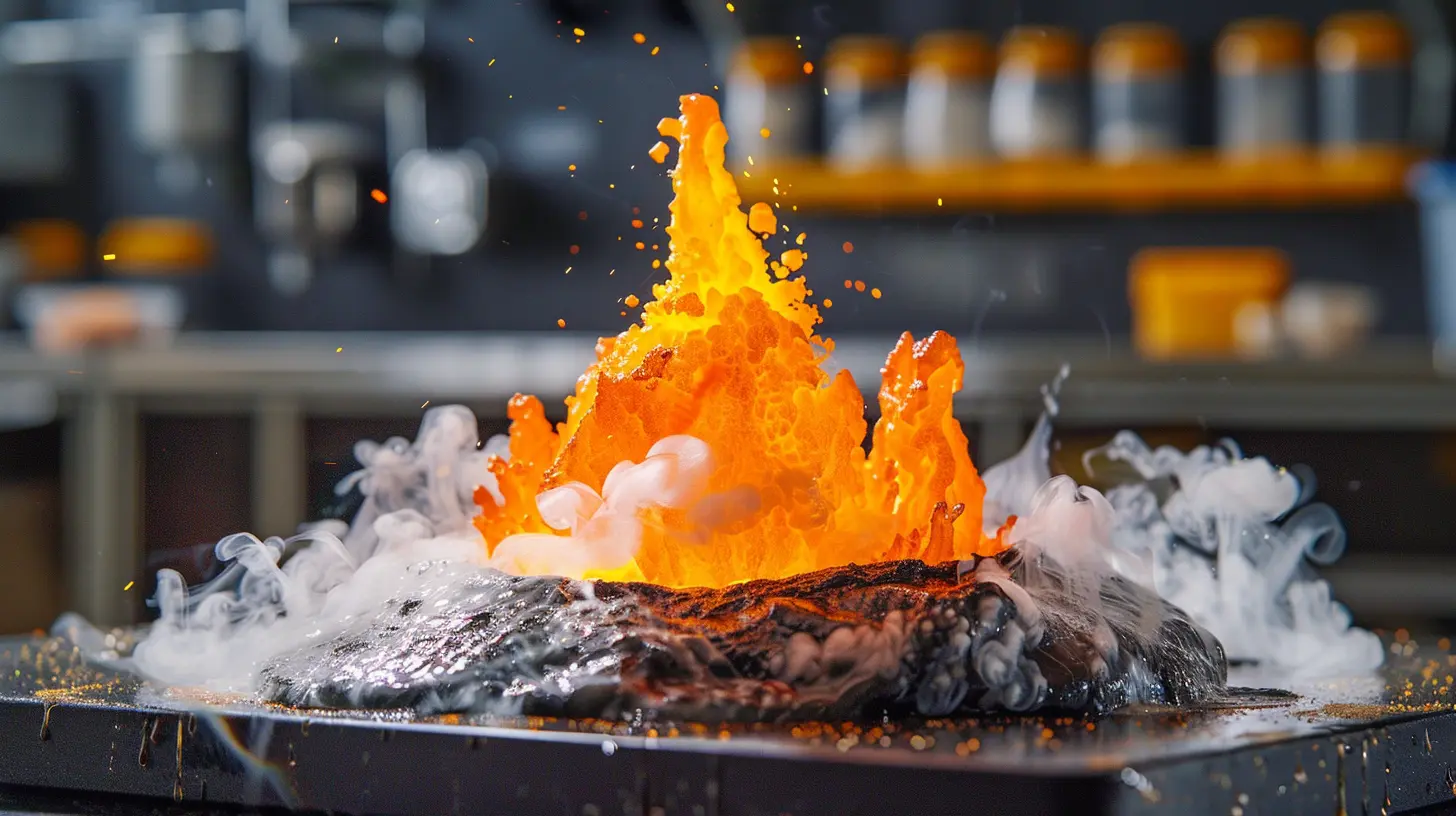
Why Make a Mini Volcano at Home?
Before we get our hands messy, let's talk about why this experiment is so awesome:- Educational Fun – This is a perfect way to introduce kids (and even adults) to chemistry, geology, and simple chemical reactions.
- Safe Science Experiment – No dangerous chemicals or complicated setups involved—just simple, everyday ingredients.
- Perfect for School Projects – Need a cool science fair project? A mini volcano is always a hit.
- Great Family or Group Activity – This can be a fantastic bonding activity for friends, parents, and kids.
Now that we’ve hyped it up, let’s get into what you’ll need to create your very own erupting volcano. 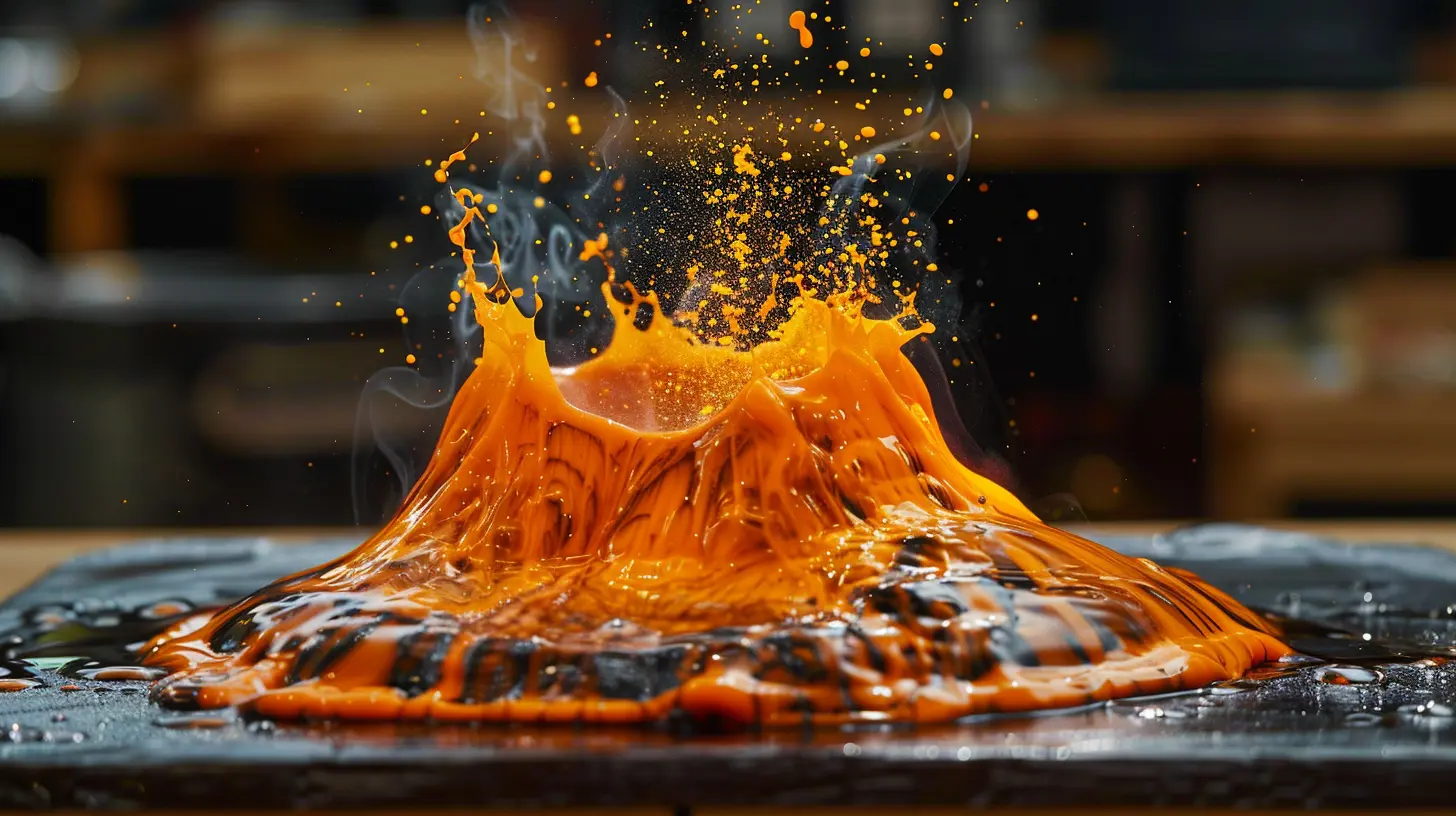
Materials You’ll Need
The best part? You probably already have all of these items at home:For the Volcano Structure:
- An empty plastic bottle (small water bottles work best)- Cardboard or a tray (as a base for easy cleanup)
- Newspaper or paper towels (for creating the volcano shape)
- Flour, salt, and water (to make a sturdy paper-mâché mixture) OR clay/playdough
- Paints and brushes (to make it look like a real volcano)
For the Eruption:
- Baking soda (the key explosive ingredient)- Vinegar (triggers the reaction)
- A few drops of dish soap (for extra foamy eruptions)
- Food coloring (red or orange to mimic lava)
Once you’ve gathered everything, it’s time to get crafty! 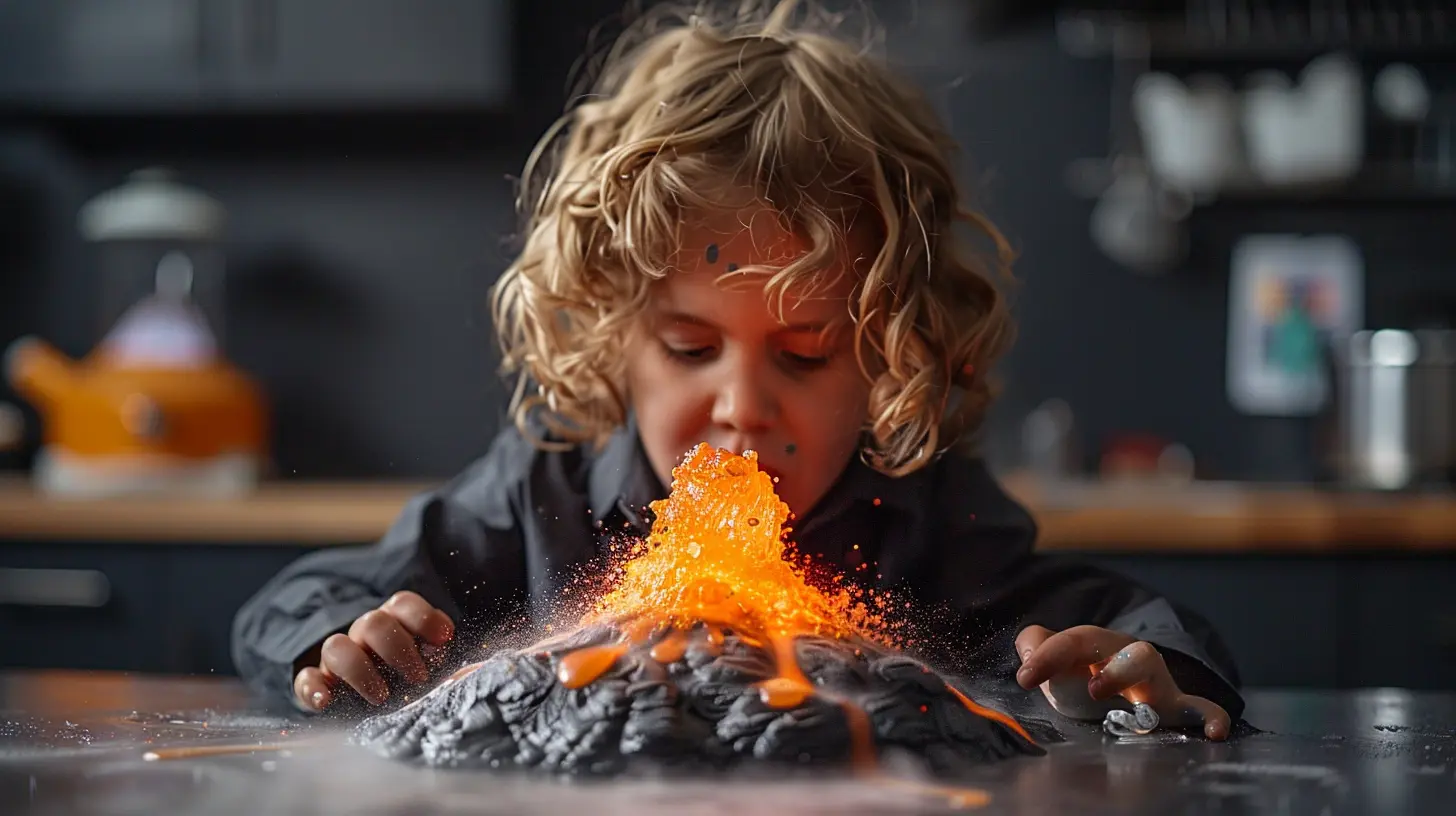
Step-by-Step Guide to Making Your Mini Volcano
Step 1: Build the Volcano Structure
1. Place the plastic bottle in the center of your tray or base. This will be the "vent" of your volcano.2. Create the shape of the volcano around the bottle using scrunched-up newspaper or paper towels.
3. Cover it with paper-mâché by dipping newspaper strips into a flour-and-water paste and layering them over the structure.
4. Let it dry completely (this may take a few hours, or overnight if you want it extra sturdy).
> If you’re short on time, skip the paper-mâché and use clay or playdough to mold the volcano instead!
5. Paint your volcano to make it look realistic—browns, reds, oranges, and even some black for the burnt lava effect.
Step 2: Prepare for the Eruption
1. Once your volcano is set and dry, place the project in an area that’s easy to clean (like a sink or outside).2. Fill the bottle inside the volcano with about ⅔ cup of vinegar.
3. Add a few drops of food coloring to give the eruption that molten lava look.
4. Squeeze in a small squirt of dish soap—this helps create a foamy explosion.
Step 3: The Eruption!
Now comes the fun part!1. Get a spoonful of baking soda (around 1-2 tablespoons) and get ready to drop it in.
2. Quickly pour the baking soda into the bottle and step back.
3. Watch as your homemade volcano erupts, sending foamy lava spilling down the sides! 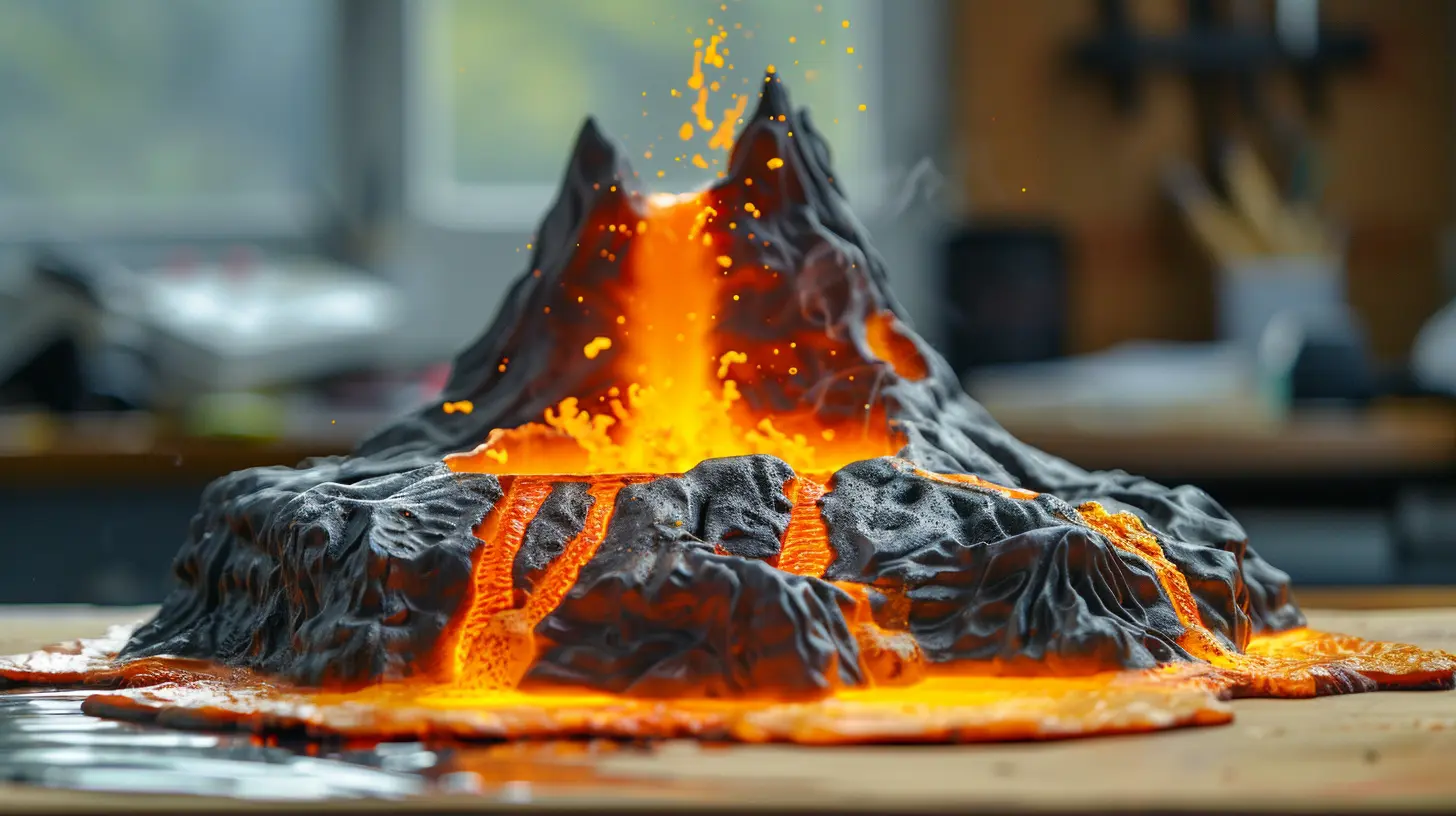
The Science Behind the Magic
This DIY volcano may seem like pure play, but it's actually a fascinating chemistry lesson in disguise. So, what exactly is happening?The eruption is caused by a simple acid-base reaction between vinegar (acid) and baking soda (base). When they mix, they produce carbon dioxide gas, creating bubbles and foam that force the liquid upwards—mimicking an actual volcanic explosion!
Adding dish soap makes the reaction last longer and creates that thick, foamy lava effect.
So, the next time someone asks if you’re just making a mess, tell them you're conducting a highly important scientific experiment!
How to Make It Even Cooler
If you want to level up your volcano project, here are a few creative twists:1. Use Different Vinegar Types
Try using apple cider vinegar or colored vinegar to experiment with different eruption effects.2. Add Glow-in-the-Dark Lava
Mix in some glow-in-the-dark paint with your vinegar for an awesome nighttime eruption!3. Try a Mentos and Soda Volcano
Instead of vinegar and baking soda, try using diet soda and dropping in a few Mentos. The explosion is much faster and way bigger!4. Use Warm Water for a More Intense Reaction
Warm water speeds up the reaction, making the eruption bigger and faster. Just don’t use boiling water—it can get messy and unsafe.Cleanup Tips (Because Science Can Get Messy!)
- Use a tray or a large plate under your volcano to contain the mess.- Have paper towels or a sponge ready for quick cleaning.
- If you did the experiment outside, just hose off the area—vinegar and baking soda are natural cleaners, so no harm done!
Final Thoughts
Making a mini volcano at home is hands down one of the best DIY science experiments out there. It’s fun, educational, and perfect for kids and adults alike. Plus, the excitement of watching your volcano erupt never gets old!So, next time you’re looking for a creative, hands-on project, gather your materials and give this one a shot. Who knows? You might just spark a lifelong love for science in someone!
Happy erupting!


Indie McKittrick
This article is a fantastic guide for a fun and educational home project! Creating a mini volcano is a great way to engage kids in science while having a blast. Can't wait to try it!
April 14, 2025 at 1:01 PM