Exploring Refraction with DIY Kaleidoscopes
31 December 2024
Ever found yourself mesmerized by the dazzling patterns inside a kaleidoscope? Those vibrant, shifting colors can keep anyone staring for hours. But have you ever wondered how those captivating designs come to life? The magic behind the kaleidoscope isn’t just about pretty shapes and colors—it’s all about refraction. And guess what? You can explore this fascinating phenomenon by creating your very own DIY kaleidoscope at home! Sounds fun, right? Let’s dive right in and learn more about refraction and how you can make a kaleidoscope that shows off this cool science in action.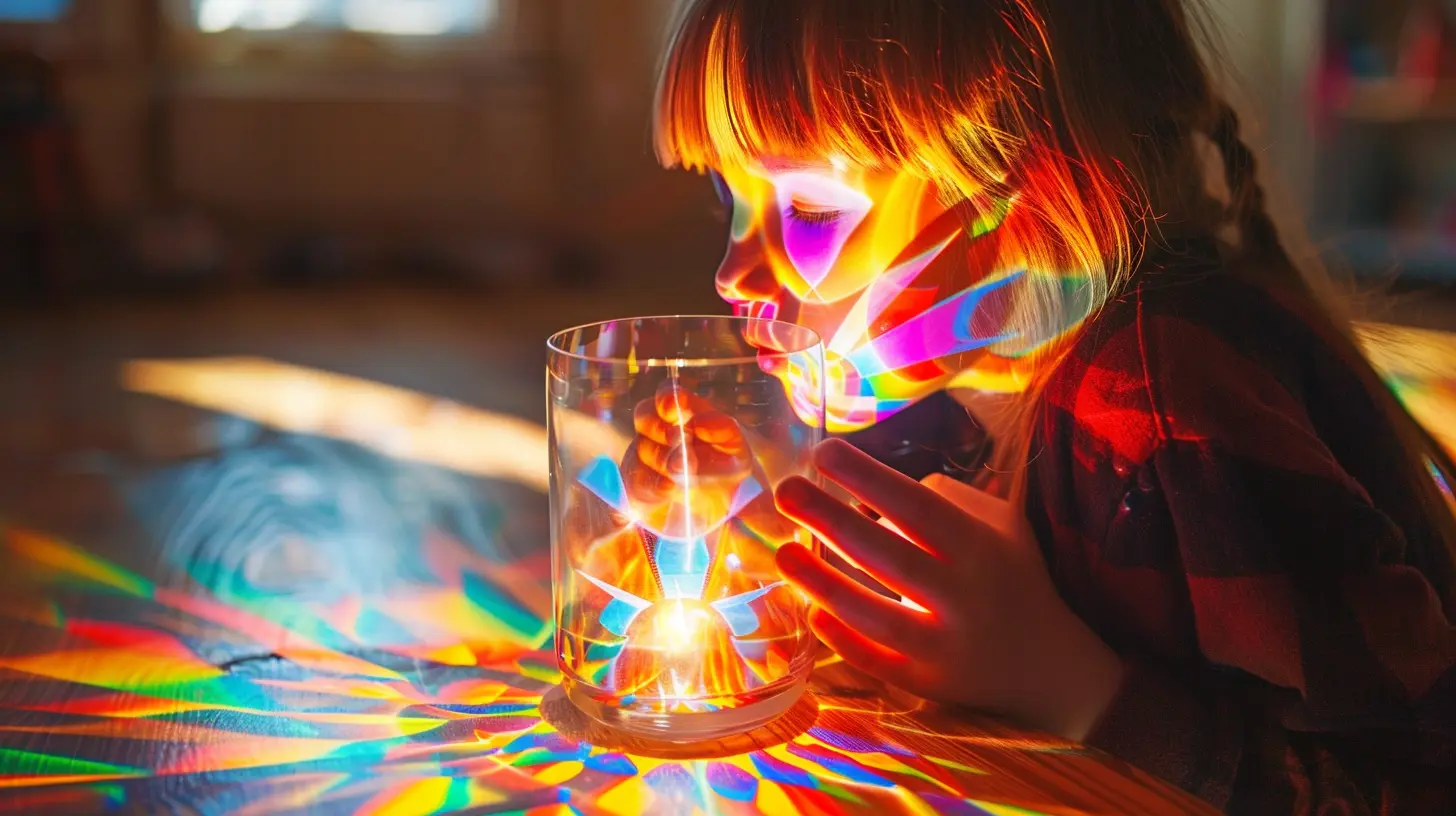
What is Refraction?
Before we grab the scissors and glitter, let’s get to the science part. So, what exactly is refraction? In simple terms, refraction is the bending of light as it passes from one medium to another. Think of it this way: imagine you’re running on solid ground, and suddenly, you step into a pool of water. You’ll slow down, right? Light behaves in a similar way. When it moves from one material (like air) into another (like glass or water), it changes speed, which causes it to bend.This bending of light is what creates the magical patterns inside a kaleidoscope. The mirrors inside the kaleidoscope reflect the light, and when that light bends through various materials like beads or colored glass, we get those beautiful, ever-changing designs.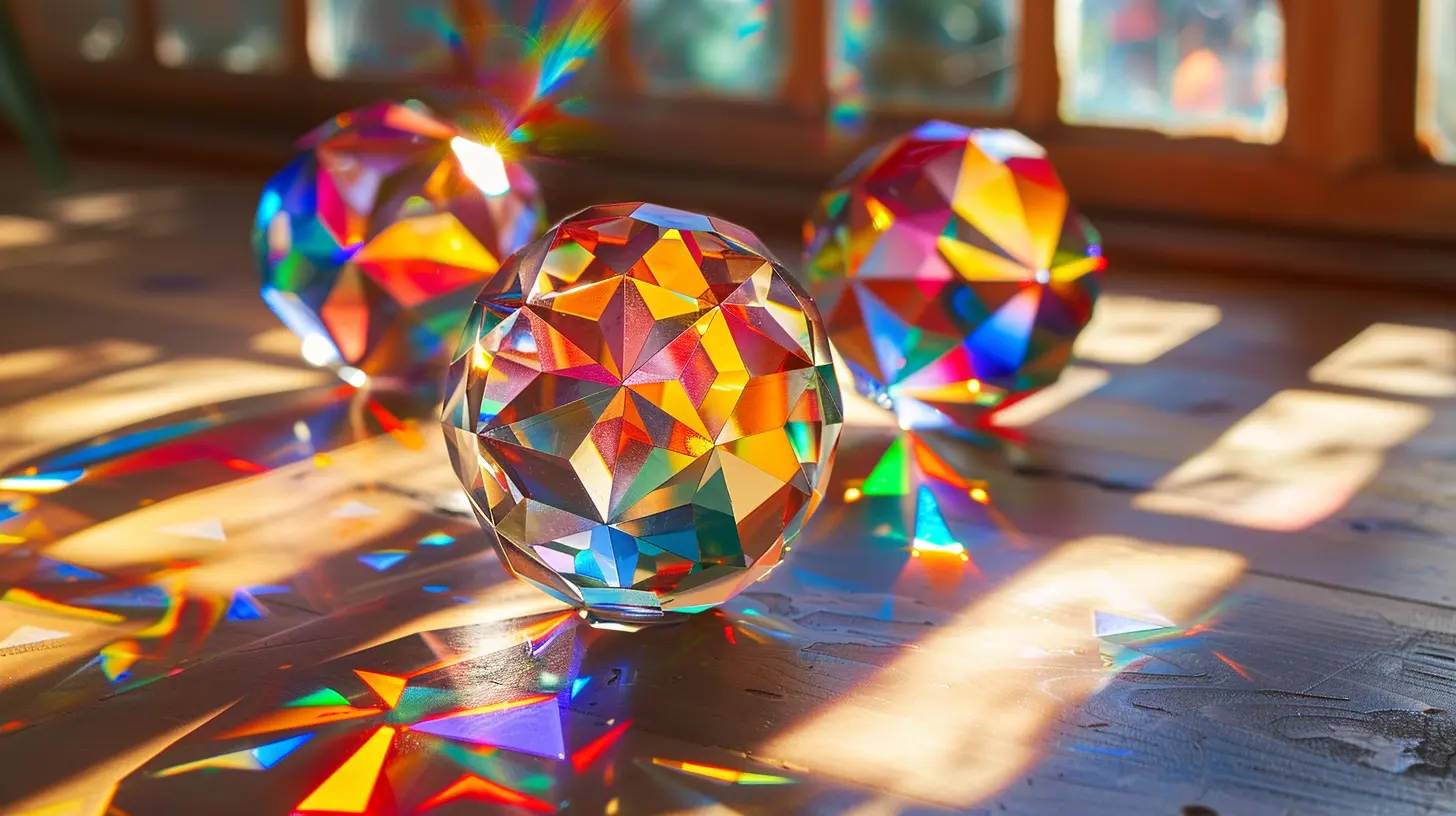
The Science Behind Kaleidoscopes
Now that we’ve got a grasp on refraction, let's connect it to the humble kaleidoscope. In a kaleidoscope, light enters through one end and bounces off multiple mirrors arranged inside a tube. The light interacts with small objects like beads or pieces of glass placed at the other end. These objects scatter the light in different directions, and the mirrors reflect the light back and forth, creating symmetrical patterns.Here's where refraction plays its part. When light passes through the colored or transparent objects inside the kaleidoscope, it bends and scatters, creating a range of dynamic colors and shapes. The combination of reflection and refraction is what creates the mesmerizing, ever-changing designs.
Why Kaleidoscopes Are a Perfect Tool for Exploring Refraction
You might be thinking, “Why use a kaleidoscope to explore refraction?” The answer is simple—it's a perfect hands-on way to see how light behaves when it interacts with different materials. Plus, a kaleidoscope makes the abstract concept of refraction more accessible and fun. You’re not just reading about science; you’re experiencing it firsthand!With a DIY kaleidoscope, you can control the materials you use, experiment with different objects, and observe how different types of light bending create unique patterns. It's like being a light scientist in your own home. How cool is that?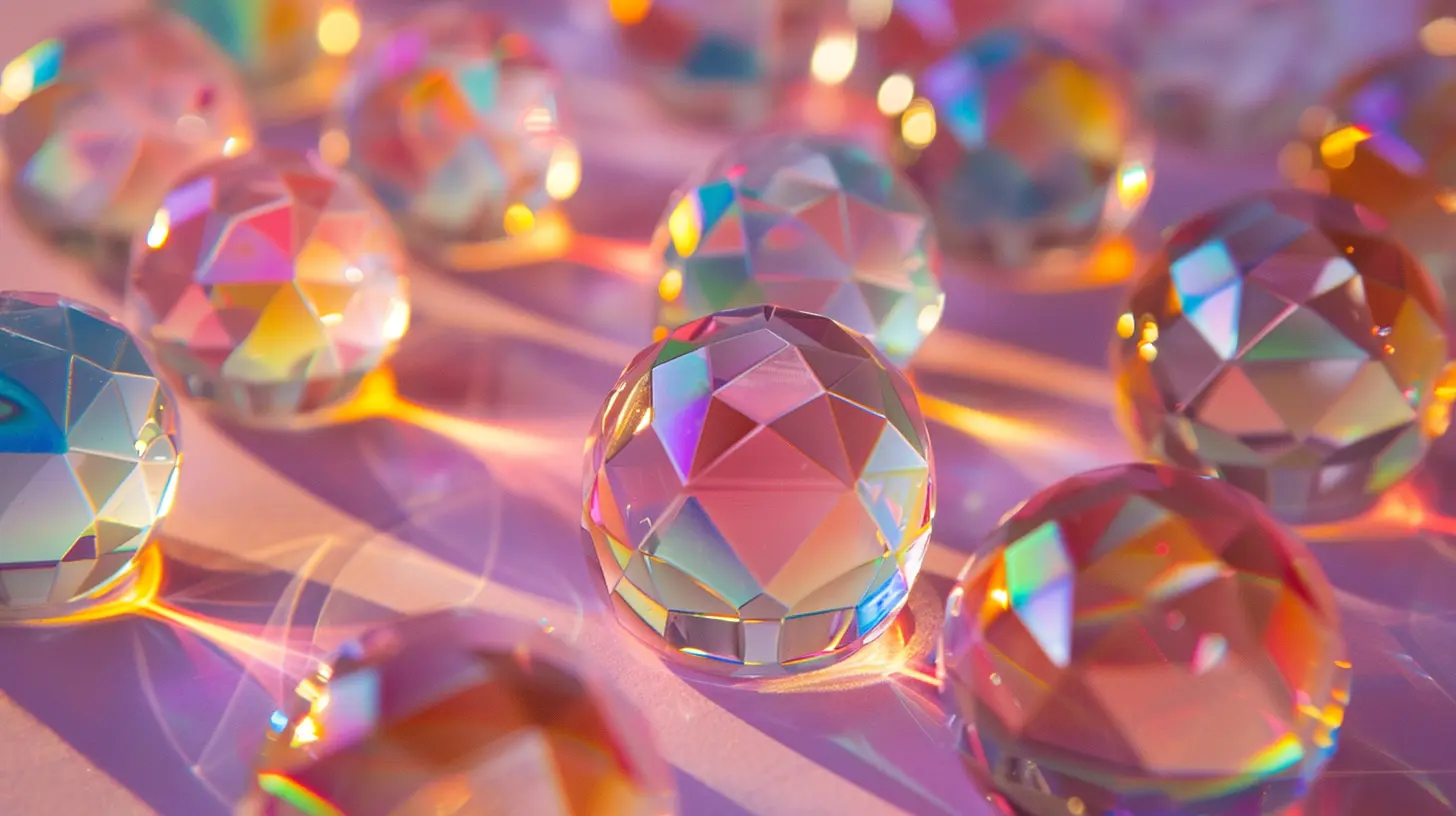
Let's Make a DIY Kaleidoscope!
Alright, now that we've covered the science, it's time to get crafty! Making your own kaleidoscope is surprisingly simple, and you don’t need to be a professional artist or scientist to pull it off. Here’s a step-by-step guide to creating your own DIY kaleidoscope—and yes, we’ll be paying close attention to how refraction plays a role throughout the process.Materials You’ll Need:
- A cardboard tube (like the one from a paper towel roll)- Three small mirrors (cut to the length of your cardboard tube)
- Transparent plastic disk or piece of plastic packaging
- Small beads, sequins, or colored glass pieces
- Aluminum foil (optional)
- Clear tape and masking tape
- Scissors
- Decorative paper or markers to personalize your kaleidoscope
Step-by-Step Instructions:
Step 1: Prepare the Mirrors
First, you need to prepare the mirrors that will reflect light inside your kaleidoscope. Cut three mirrors to the same length as your cardboard tube. If you don’t have mirrors, you can use reflective packaging or even shiny aluminum foil in a pinch.Step 2: Create the Mirror Triangle
Take your three mirrors and tape them together to form a triangular prism. This will be the core part of your kaleidoscope where the magic happens! Make sure the reflective sides are facing inward. Slide the triangular mirror prism into the cardboard tube.Step 3: Add a Transparent Plastic Disk
Cut a small, round piece of transparent plastic (this could be from a piece of packaging or a plastic lid). This will act as a barrier between the mirrors and the beads, allowing light to pass but keeping the objects from getting too close to the mirrors.Step 4: Add the Beads
Now, add your collection of small objects—beads, sequins, or bits of colored glass—on top of the transparent plastic disk. These objects will scatter the light and create those mesmerizing patterns inside your kaleidoscope.Step 5: Cover the End
Cut another round piece of transparent plastic, but this time, leave it clear so light can pass through easily. Tape this piece to the end of your kaleidoscope where you added the beads. This will allow light to enter and interact with the beads and mirrors.Step 6: Decorate!
Now comes the fun (and optional) part—personalizing your kaleidoscope! Wrap the cardboard tube in decorative paper, draw your own designs, or cover it with stickers. Make it your own!Step 7: Test It Out
Hold the kaleidoscope up to a light source and look through the other end. Twist the tube and watch the beautiful patterns form inside. You’ll notice how the light bounces off the mirrors and bends through the beads, creating new shapes and colors with every twist.How to Experiment with Refraction in Your DIY Kaleidoscope
Now that you’ve got your kaleidoscope, you can start experimenting with different materials to see how they affect the patterns inside. Remember, refraction happens when light bends, so any transparent or semi-transparent objects will cause light to bend differently.Try This:
- Change the Beads: Swap out different-colored beads or glass pieces to see how the colors and shapes change. Does adding more transparent beads create a different effect than opaque ones?- Use Different Types of Light: Move your kaleidoscope from natural light (like sunlight) to artificial light (like a lamp). How do the patterns change depending on the light source?
- Adjust the Mirrors: If you're feeling extra experimental, try adjusting the angle of the mirrors inside your kaleidoscope. Changing the angle can give you a completely different set of patterns.
Why This DIY Project is Perfect for Students
For students, this DIY kaleidoscope project is a fantastic way to learn about the principles of physics, especially concerning light and optics. Instead of reading about refraction in a textbook, students can physically observe how light bends and reflects. This hands-on learning experience not only deepens understanding but also sparks curiosity—after all, who doesn’t love playing with a kaleidoscope?Additionally, creating a kaleidoscope allows students to practice problem-solving skills. They can experiment with different materials, test out hypotheses, and adjust their kaleidoscope to explore the effects of refraction. It’s like conducting a mini science experiment right at home!
Beyond Science: The Artistic Side of Kaleidoscopes
Sure, kaleidoscopes are a tool for exploring refraction, but they’re also works of art! The patterns created inside a kaleidoscope are a beautiful blend of science and creativity. When you peer inside, you’re witnessing a unique combination of symmetry, color, and design.In fact, many artists have used the concept of kaleidoscopes as inspiration for their work. The ever-changing patterns often symbolize the idea of infinite possibilities—just like in art, where the only limit is your imagination.
Conclusion: Reflecting on Refraction
Who knew that something as simple as a kaleidoscope could teach us so much about the science of light? Through your DIY kaleidoscope, you’ve not only explored the concept of refraction but also tapped into the artistic wonder that light can create. The next time you look through a kaleidoscope, remember that it’s not just pretty patterns you’re seeing—it’s the fascinating dance of light, mirrors, and bending rays.So, grab some mirrors, beads, and that old cardboard tube! Whether you're a science enthusiast or someone just looking for a fun craft project, exploring refraction with a DIY kaleidoscope is a fantastic way to discover the beauty of light in action.
all images in this post were generated using AI tools
Category:
Science ExperimentsAuthor:

Fiona McFarlin
Discussion
rate this article
18 comments
Tobias McCray
What a delightful way to explore science! DIY kaleidoscopes sound like a fun project for all ages. I can already picture the colorful patterns—perfect for sparking creativity and curiosity in the classroom!
February 12, 2025 at 4:43 AM

Fiona McFarlin
Thank you! I'm glad you enjoyed the idea! DIY kaleidoscopes are indeed a wonderful way to inspire creativity and curiosity in science.
Isaiah Chavez
Get creative and let your imagination shine!
February 1, 2025 at 12:23 PM

Fiona McFarlin
Absolutely! Creativity is key in making your own kaleidoscopes—experiment with colors and shapes to see what unique patterns you can create!
Gideon Thornton
Exploring refraction through DIY kaleidoscopes is a brilliant way to combine creativity with science. This hands-on approach not only enhances understanding of light behavior but also fosters curiosity and innovation in students. Engaging with such activities can ignite a lifelong passion for learning and discovery in the wonders of physics.
January 26, 2025 at 11:29 AM

Fiona McFarlin
Thank you! I'm glad you appreciated the blend of creativity and science in exploring refraction with DIY kaleidoscopes. Encouraging hands-on activities truly enhances learning and sparks curiosity in students!
Juniper Barnes
Ah yes, because who wouldn’t want to turn their living room into a science lab? Nothing says ‘fun family activity’ like cutting your own kaleidoscope while dodging sharp glass edges. What’s next, DIY lasers?
January 23, 2025 at 4:32 AM

Fiona McFarlin
I appreciate the humor! Our aim is to make science fun and safe—kaleidoscopes can be a great creative project with proper care.
Devin McCaffrey
This article offers a fantastic way to engage students with the concept of refraction through DIY kaleidoscopes. The hands-on approach not only enhances understanding but also sparks creativity. It's a fun and effective way to bring science to life in the classroom. Great job!
January 18, 2025 at 1:24 PM

Fiona McFarlin
Thank you for your kind words! I'm glad you found the DIY kaleidoscope project engaging and creative for exploring refraction!
Damon McAllister
Through DIY kaleidoscopes, we glimpse the beauty of light's dance—science and art intertwine.
January 16, 2025 at 3:50 AM

Fiona McFarlin
Thank you! It's wonderful to see how DIY kaleidoscopes beautifully illustrate the fusion of science and art through light and refraction.
Blaine Riley
This engaging DIY project effectively illustrates refraction concepts while fostering creativity and curiosity.
January 11, 2025 at 1:38 PM

Fiona McFarlin
Thank you! I'm glad you found the project both engaging and educational!
Michelle McQuillen
DIY kaleidoscopes brilliantly illustrate refraction’s beauty, sparking curiosity in science.
January 4, 2025 at 8:12 PM

Fiona McFarlin
Thank you! I'm glad you enjoyed the article. DIY kaleidoscopes truly make learning about refraction engaging and fun!
Colton Dorsey
Who knew science could be so colorful? Turning light into art with kaleidoscopes—it's like having a mini disco party in your pocket!
January 4, 2025 at 5:46 AM

Fiona McFarlin
Absolutely! Kaleidoscopes beautifully illustrate the magic of light and refraction, making science a vibrant experience. Thanks for your enthusiasm!
Beatrice Hahn
This article brilliantly combines creativity and science, making refraction accessible and fun! DIY kaleidoscopes not only engage the mind but also inspire hands-on learning. It’s a perfect project for educators and students alike to explore optics in an entertaining way. Well done!
January 3, 2025 at 7:26 PM

Fiona McFarlin
Thank you so much for your kind words! I'm thrilled you found the article engaging and that it inspires hands-on learning in optics.
Otis Hill
This article brilliantly simplifies the science of refraction through engaging DIY kaleidoscopes. A must-try project that sparks curiosity and enhances understanding of light optics!
January 3, 2025 at 4:44 AM

Fiona McFarlin
Thank you for your kind words! I'm glad you found the article engaging and inspiring for exploring light optics!
Pierce Reyes
What a fun way to learn about refraction! DIY kaleidoscopes sound like a great project for all ages. Can't wait to try it!
January 2, 2025 at 12:18 PM

Fiona McFarlin
Thank you! I'm glad you found it inspiring—enjoy making your kaleidoscope!
Drake McFarlane
This article beautifully combines creativity and science, illustrating how DIY projects can make complex concepts like refraction accessible and engaging for learners of all ages. A truly inspiring read!
January 2, 2025 at 4:20 AM

Fiona McFarlin
Thank you for your kind words! I'm glad to hear you found the article inspiring and accessible. Happy exploring!
Zyana King
What a fun way to explore the science of refraction! DIY kaleidoscopes are not only a creative project but also a fantastic tool for sparking curiosity in young minds. Dive in, get crafty, and watch the magic unfold as patterns dance and colors blend—science has never been this colorful! 🌈✨
January 1, 2025 at 9:58 PM

Fiona McFarlin
Thank you! We're excited to inspire curiosity and creativity through DIY kaleidoscopes—science really can be colorful and fun! 🌟
Patrick McCartney
This article offers a fun and engaging way to explore the principles of refraction through DIY kaleidoscopes. Perfect for classrooms or home experiments, it blends creativity with scientific discovery, making learning about light truly captivating!
January 1, 2025 at 1:59 PM

Fiona McFarlin
Thank you! I'm glad you enjoyed the article and found the DIY kaleidoscopes to be a fun way to learn about refraction!
Zephyrine Turner
Who knew bending light could be so fun? Just remember: if your kaleidoscope turns out to look like a confused potato, you’re still winning in the DIY game! 🎨🛠️
January 1, 2025 at 6:04 AM

Fiona McFarlin
Haha, love that perspective! Embracing the unexpected is what DIY is all about! 🎉✨
Dana Thomas
Transform ordinary light into extraordinary beauty—get creative and embrace the DIY kaleidoscope adventure!
December 31, 2024 at 7:43 PM

Fiona McFarlin
Thank you! Embracing creativity through DIY kaleidoscopes truly opens up a world of colorful possibilities. Enjoy the journey!
Dior Mercado
What a fantastic article! Exploring refraction through DIY kaleidoscopes is such a fun and creative way to learn about light. Happy crafting!
December 31, 2024 at 1:52 PM

Fiona McFarlin
Thank you! I'm glad you enjoyed the article and found the DIY kaleidoscopes inspiring! Happy crafting to you too!
MORE POSTS

How to Facilitate Effective Collaboration in Online Learning

How to Develop Summative Assessments That Encourage Critical Thinking

The Science of Procrastination: Why Do We Avoid Homework?

Blended Learning and the Evolution of Curriculum Design

How to Build a Flexible Homeschooling Schedule

The Impact of Collaborative Learning on Student Motivation

Effective Collaboration in Team-Based Learning: Lessons for Educators

How to Choose the Right Curriculum for Your Homeschool

The Link Between Sleep and Homework Performance

How to Teach Writing in a Homeschool Setting

The Impact of Distance Learning on Critical Thinking Skills